 Jump to recipe
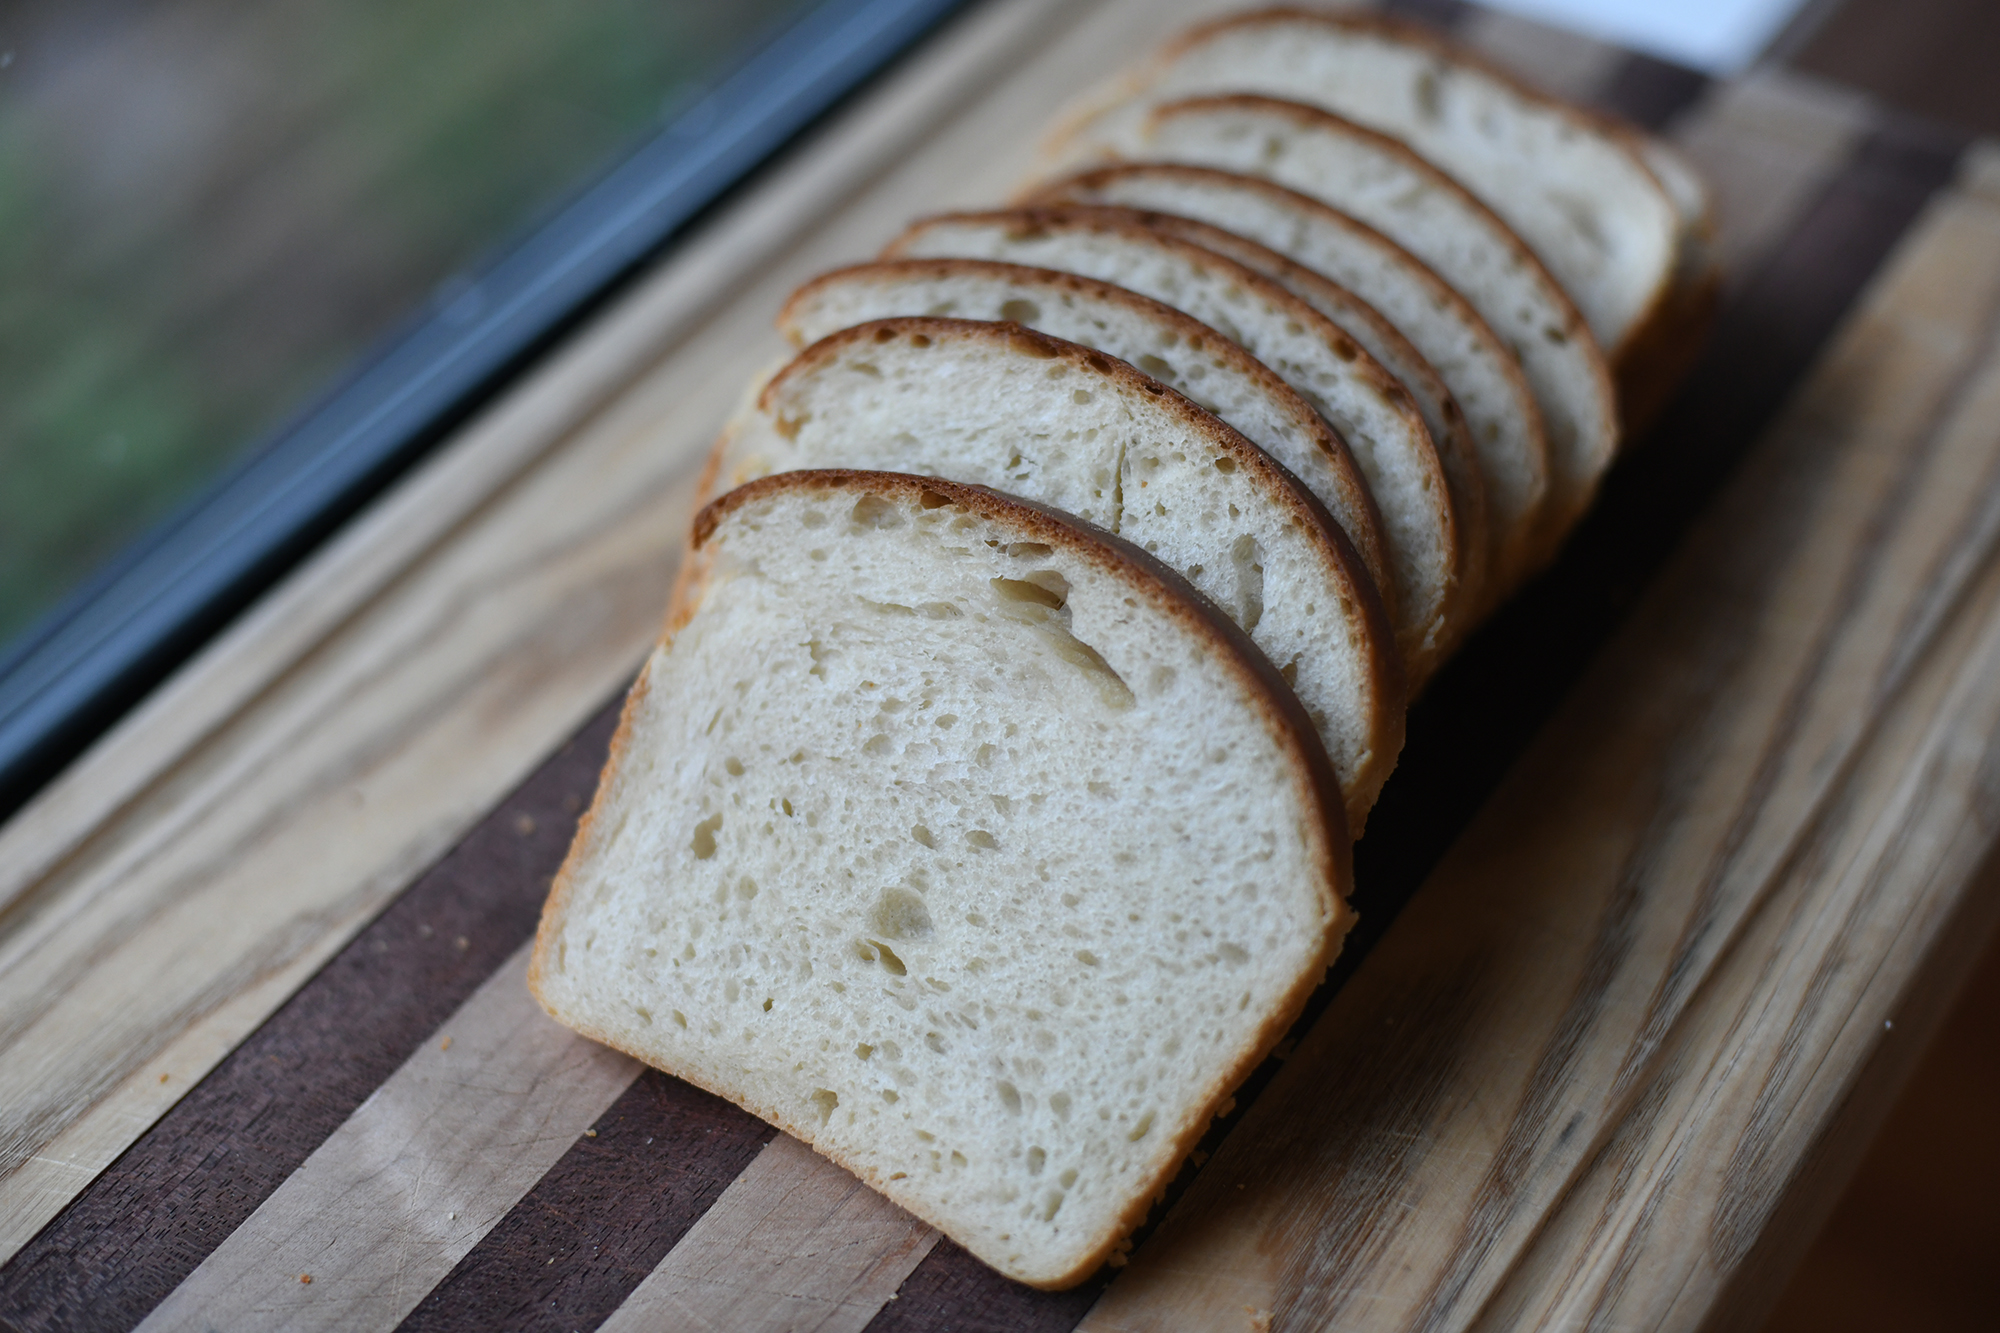
I was on a mission to replace store bought sandwich bread with a healthier homemade whole wheat option for a long time. This recipe is by far the winner. This soft and fluffy sourdough honey wheat sandwich bread is not heavy and dense but pillowy soft with a kiss of sourdough tang and honey sweetness. It’s absolutely delicious!

It’s the perfect loaf for toasting up for breakfast or slicing and enjoying with meats and cheeses for lunch. Individual slices keep perfectly in the freezer without all the additives from store bought bread.
I’ve also included 2 baking schedules to help you adjust to your busy schedules. This recipe can even be prepared and baked all in one day!

Why You’ll Love This Recipe
Soft and Nourishing
Whole wheat bread can sometimes be dense, but not this one! The combination of milk, butter, and a mix of bread flour and whole wheat flour gives this loaf a soft, light texture while still delivering the extra nutrients from the whole wheat.
Minimal Kneading
No need to spend hours kneading! Just 20 seconds of kneading is all it takes to get this dough ready. Simple and easy!
Made and Baked in One Day
I’ve included two baker’s schedules to fit this recipe into your day. If you’re in a rush, you can have freshly baked bread in a single day—how’s that for convenience?
Ingredients Needed
(Scroll to the bottom for exact measurements on the recipe card)
- Active Sourdough Starter – Make sure your starter is active and bubbly, at its peak of fermentation.
- Milk – I used whole milk, but feel free to swap with your favorite dairy or non-dairy option. Just ensure the milk is warm, but not hotter than 120°F to protect the starter.
- Honey – Adds a touch of sweetness and helps the crust achieve a golden, beautiful color as it bakes.
- Melted Butter – Makes this bread soft and tender. You can substitute with olive oil or non-dairy butter if preferred.
- Bread Flour – For the best texture and a taller, fluffier loaf, I recommend using bread flour. It has a higher protein content than all-purpose flour, which helps the dough rise.
- Whole Wheat Flour – I love using King Arthur’s whole wheat flour for its flavor and texture.
- Salt – Any unrefined salt works well, but I like using Redmond’s salt for its added minerals.
Supplies Needed
- Large Mixing Bowl
- Danish Dough Whisk
- Bowl Cover
- Rolling Pin
- 8.5 x 4.5-inch Loaf Pan
Need Your Own Sourdough Starter?
Order your own organic dehydrated (but very much alive) sourdough starter here!
Our homemade organic sourdough starter is named Fiona and was made from scratch using three ingredients.. organic flour, water, and wild yeast from an organic apple we picked from our very own orchard at Delgado Homestead.

Baker’s Schedule:
This guideline is for kitchens at 70°F (21°C). Warmer kitchens will rise faster, cooler ones will take longer.
Same-Day Baking:
- 9:00 AM: Make the Dough
- 10:00 AM: Knead the Dough
- 10:00 AM: First Rise
- 7:00 PM: Shape
- 7:00 PM: Second Rise
- 9:00 PM: Bake
Next-Day Baking:
- 9:00 PM: Make the Dough
- 10:00 PM: Knead the Dough
- 10:00 PM: First Rise
- Next Morning:
- 7:00 AM: Shape
- 7:00 AM: Second Rise
- 9:00 AM: Bake
How to Make Whole Wheat Sourdough Bread
1. Feed Your Starter
Feed 25g of sourdough starter, 75g of warm water, and 75g of flour. Mix until fully incorporated and let it rise until bubbly and doubled in size. This usually takes about 12 hours in a 70°F kitchen. In warmer kitchens, this will take less time, and in cooler kitchens, more time. The starter should look bubbly with little craters on top when ready.
2. Make the Dough
In a large bowl, whisk together your active sourdough starter, warm milk, melted butter, and honey. Add the bread flour, whole wheat flour, and salt. Use a Danish dough whisk to combine until there are no dry patches. You can also use a bowl scraper to clean the sides of the bowl and make sure everything is mixed well. The dough will be a bit sticky.
Cover the bowl and let it rest for 30 minutes to hydrate the flour.
3. Knead the Dough
After the rest period, wet your fingers to prevent sticking. Take a piece of dough, pull it upwards, and fold it toward the center, pushing the heel of your hand into the dough. Turn the bowl a quarter turn and repeat. Knead for about 20 seconds, or until the dough becomes smoother and stiffer. If it tears, stop.
Grease another bowl with butter, place the dough in it, seam side down, and cover it again for the bulk fermentation.
4. Bulk Fermentation
Let the dough rise until it has doubled in size, which should take 10-12 hours in a 70°F kitchen. The first rise begins as soon as the ingredients are mixed, not after kneading.
5. Shape the Dough
Once the dough has doubled, punch it down gently to release any air bubbles. Transfer it to a clean surface and shape it into a rectangle, about 9 inches by 13 inches (it doesn’t have to be exact). Roll the dough tightly into a log, pinching the seams together at the end. If you’ve made sourdough before, you’ll notice that this dough feels denser due to the whole wheat flour.
6. Second Rise
Grease your loaf pan and place the shaped dough seam side down in the pan. Cover it and let it rise until it’s about 1 inch above the rim of the pan. This usually takes 1-2 hours in a 70°F kitchen. Patience here is key for a light, fluffy loaf!
7. Bake the Bread
Preheat your oven to 375°F. Place the loaf on the middle rack and bake for 30-35 minutes until the top is golden brown. If the crust begins to brown too quickly, cover the top with aluminum foil and continue baking for 20-25 minutes, for a total of 50-55 minutes. The internal temperature should reach 201°F.
For extra steam in the oven, place a cast iron skillet or baking sheet with ice cubes on the lower rack. This keeps the dough surface soft and helps it rise without tearing.
Once baked, let the bread sit in the pan for 5 minutes, then transfer it to a wire rack to cool completely.
To get a soft crust, I love spreading butter on top of the bread while it’s still warm.
8. Cool Before Slicing
Allow the bread to cool for at least 1 hour before slicing. Cutting too soon can result in a gummy texture.
How to Serve
This sourdough whole wheat bread is perfect for everything from toast in the morning to a hearty sandwich at lunch. It’s versatile and delicious! Even when it gets a bit stale, turn it into crunchy croutons or breadcrumbs for later use.
How to Store
This bread will stay fresh for 3-5 days when stored in a plastic bag at room temperature. For longer storage, I recommend freezing it. Slice the bread and place the slices in a gallon-size ziplock bag with small sheets of parchment paper between them to keep them from sticking together.
To refresh frozen slices, just bring them to room temperature or pop them straight into the toaster!
FAQs
Can I use all-purpose flour instead of bread flour?
Yes, you can, though bread flour is recommended for a fluffier, taller loaf. Bread flour has more protein, which helps the dough rise better and creates a softer texture. All-purpose flour will still work, but the loaf may not be as airy or tall.
Why does my loaf have a gummy line at the bottom?
This is usually a sign of underproofing or overproofing. If the dough hasn’t risen enough before baking, it may not rise properly in the oven. If it’s overproofed, the gluten might break down, leading to a dense, gummy bottom. Be sure to give your dough enough time to rise!
Do I have to add honey to the dough?
Honey is highly recommended for its sweetness, color, and to help with fermentation. It also helps preserve the bread. However, it can be omitted if you prefer.
Soft and Fluffy Sourdough Honey Wheat Sandwich Bread


Notes
Baker’s Schedule:
This guideline is for environments that are 70 degrees F. Hotter kitchens will require less time, while cool temps will take longer.
Bake the Same Day:
9 am: Make the Dough
10 am: Knead the Dough
10 am: First Rise
7 pm: Shape
7 pm: Second Rise
9 pm: Bake
Bake the Next Day:
9 pm: Make the Dough
10 pm: Knead the Dough
10 pm: First Rise
Next Morning:
7 am: Shape
7 am: Second Rise
9 am: Bake
How to Store
Sourdough sandwich bread will stay fresh for 3-5 days when stored in a plastic bag, but my favorite way to store it is by freezing. Once the bread has cooled completely, I slice it and place the pieces in a gallon-sized ziplock bag. I also like to put small pieces of parchment paper between the slices to prevent them from sticking together.
To refresh, simply pull out some slices and bring them to room temperature, or pop them straight into the toaster. It’s super simple but still super tasty!
Ingredients
- 150g (3/4 cup) active sourdough starter
- 300g (1 1/4 cups) warm milk
- 40g (2 Tablespoons) honey
- 57g (4 Tablespoons) unsalted butter, melted
- 125g (1 cup) whole wheat flour
- 375g (2 2/3 cups) bread flour
- 9g (1 1/2 teaspoons) salt
Instructions
- Feed Your Starter
- 1. Feed 25g of starter, 75g of warm water, and 75g of flour. Mix until the flour is completely incorporated and leave to rise. Allow your starter to rise and reach its peak. Let the bulk rise to least double in size, with bubbles on top of the dough and all throughout (the top of the starter will look like little craters) before using.
- In my 70 degree kitchen, this takes about 12 hours. If your kitchen is warmer, it will take less time. The opposite is true if your kitchen is cooler. Adjust the timing based on your kitchen environment.
- 2. Once your starter is ready, prepare to make the dough.
- Make the Dough
- 3. In a large bowl, whisk together the starter, warm milk, melted butter, and honey. Then, add flours and salt to the wet ingredients and mix with a Danish dough whisk until all the flour is fully incorporated.
- 150g starter, 300g milk, 57g butter, 40g honey, 125g whole wheat flour, 375g bread flour, 9g salt
- 4. I also use a bowl scraper to clean the sides of the bowl and mix all the ingredients together. The dough will be sticky.
- 5. Cover the bowl with a cover and let the dough rest for 30 minutes.
- Knead the Dough
- 6. After 30 minutes, wet your fingers to prevent the dough from sticking.
- 7. Take a piece of the wet dough, pull it upwards, and fold it towards the center. Push the heel of your hand into the dough.
- 8. Turn the bowl a quarter turn clockwise and repeat the same motion. Continue kneading the dough for about 20 seconds. It should become stiffer and smoother. Stop if the dough starts to tear.
- 9. Grease another bowl with butter and place the dough in it, seam side down.
- Bulk Fermentation
- 10. Cover the bowl again and let the dough rise until it has doubled in size. In my 70°F kitchen, the first rise took 10-12 hours. Remember, bulk fermentation begins once the ingredients are mixed, not after you’ve kneaded.
- Shape the Dough
- 11. Once the dough has doubled in size, remove the bowl cover and punch the dough. Do so by placing your fist in the center of the dough and pushing it downwards. Continue to punch the edges of the dough to remove all the air bubbles.
- 12. Punching the dough helps to create a tighter, more uniform crumb, which is what you want for sandwich bread.
- 13. Remove the dough onto a work surface—no flour needed. Stretch or roll the dough into a large rectangle, about 9 inches x 13 inches (it doesn’t have to be exact). Roll the dough into a log, similar to how you would with a cinnamon roll. Tuck the ends of the log under and pinch the seams together.
- If you have made sourdough sandwich bread before, you will notice that the dough feels more dense and stiff due to the whole wheat flour.
- Second Rise
- 14. Using a bench scraper or your hands, gently lift the sourdough dough and place it into a greased 8.5 x 4.5-inch loaf pan with the seam side down. Cover the dough and let it rise until it is 1 inch above the rim of the pan.
- 15. In my 70 degree kitchen, the second and final rise took 1-2 hours. It is tempting to rush this step, but don’t! If your loaf has not risen properly, it will be dense and gummy or bust while baking.
- Bake
- 16. Preheat your oven to 375°F.
- 17. Place the pan in the hot oven on the middle rack and bake for 30-35 minutes. By now, the top of the loaf should be a beautifully dark, golden brown color. To prevent the top from burning, cover the top with a piece of aluminum foil and continue to bake for 20-25 more minutes for a total of 50-55 minutes.
- 18. The internal temperature of a properly baked loaf should be 201°F.
- 19. To prevent the sourdough sandwich bread crust from tearing, I like to place a cast iron skillet or baking sheet on the oven rack below the bread with a cup of ice cubes. This creates extra steam in the oven while the bread bakes, which keeps the surface of the dough soft allowing the bread to expand and rise without tearing.
- 20. Remove from the oven and place the bread pan on a wire rack. Keep the pan loaf in the tin pan for an extra 5 minutes before removing it to cool.
- 21. While the Sourdough Whole Wheat Sandwich Bread is still warm, spread butter all over the top of the bread for a super soft crust.
- 22. Cool for at least 1 hour before slicing.
